

From Carcass to Finish: What Actually Goes Into Your Interior Project
When clients picture “interior design,” they usually picture the end result — a styled living room, a sleek modular kitchen, a TV unit that photographs beautifully. What they rarely see is the two or three weeks of raw carpentry that makes all of that possible. At Aurum Interior India, we think that stage deserves just as much attention, because it’s where the real quality of a project is decided.
Here’s a look at what’s actually happening on site before any of our projects reach the “reveal” stage.
1. It Starts with the Carcass
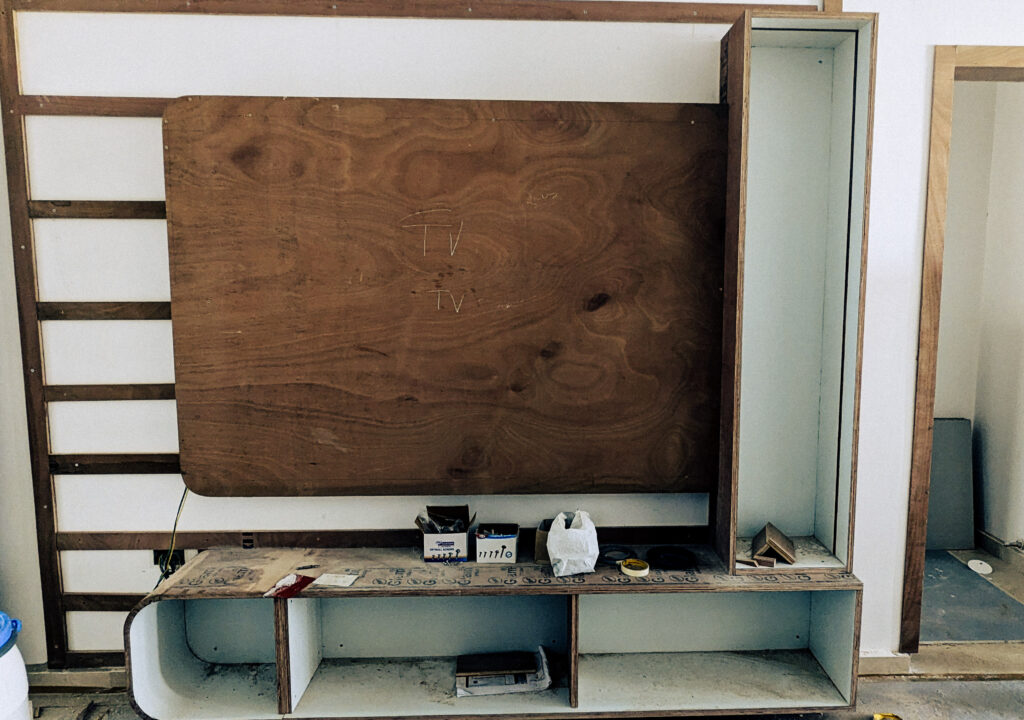
Every piece of furniture you’ll eventually see — a TV unit, a wardrobe, a kitchen cabinet — starts as a carcass: the structural plywood shell that everything else gets built onto. At this stage there’s no laminate, no paint, no hardware. Just marked-up plywood, exposed joints, and pencil labels like “TV” scrawled directly onto the board so the team on-site knows exactly what goes where.
This is also where dimensions get locked in. Shelf heights, drawer cavities, backing panel placement — any mistake made here is expensive to fix later, so this stage moves slowly and deliberately, even though it’s the least photogenic part of the process.
2. Wardrobes Get Built Around the Room, Not Just Placed in It
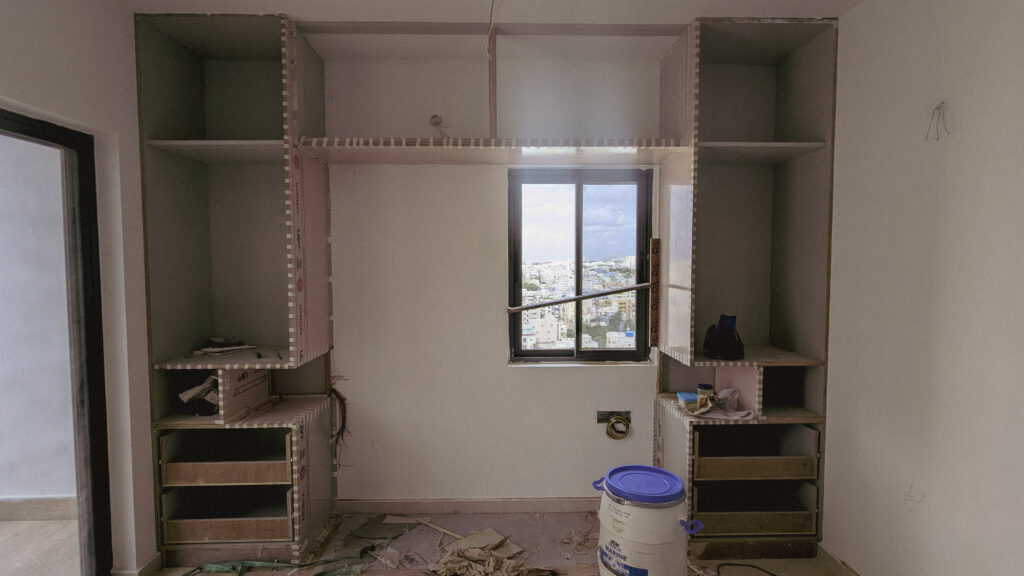
A wardrobe carcass isn’t just a box — it has to work around windows, wiring points, and the natural light in the room. You’ll see open shelving on either side of a window, with switch points and electrical wiring already routed through the structure before any doors or interior fittings go on. Drawer channels are test-fitted at this stage too, so hardware issues get caught before the unit is finished, not after.
3. What’s Happening Above Your Head
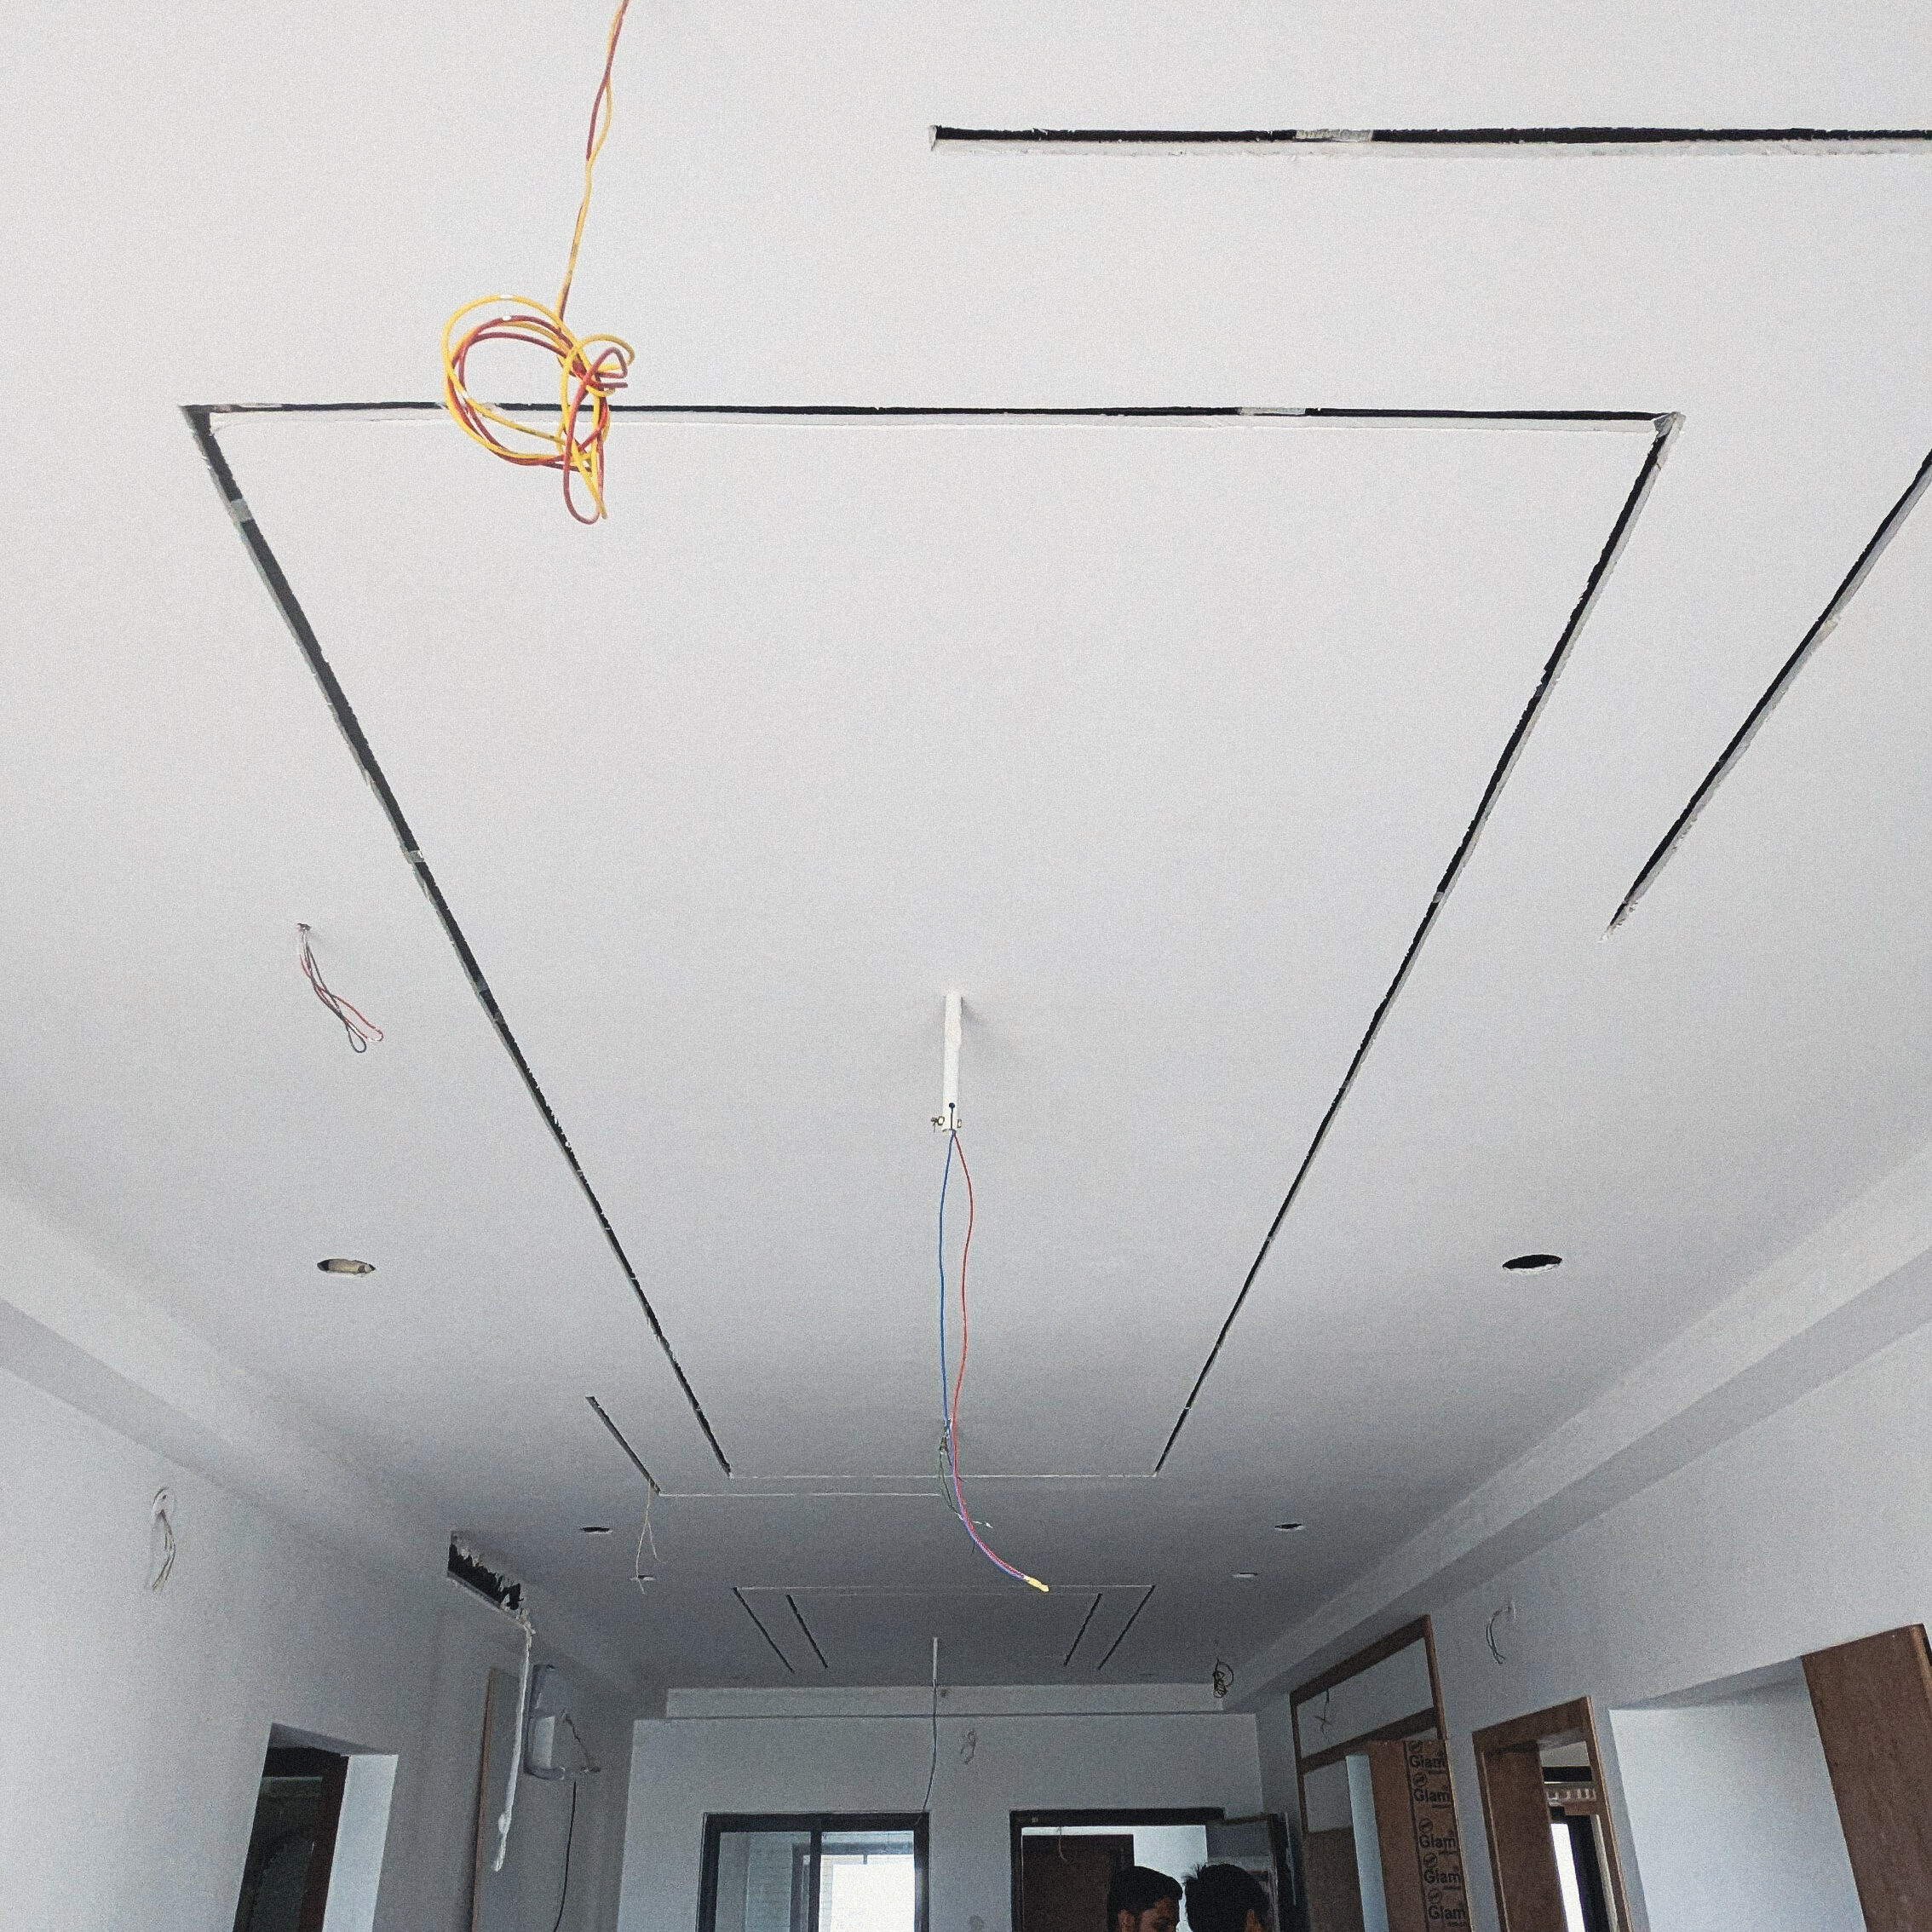
False ceilings look simple once they’re finished, but the framing stage tells a different story. Before the final board goes up, there’s a full layer of electrical routing — wiring for lights, switch points, and often HVAC vents — all mapped out and run through the ceiling cavity. Getting this sequencing right (electrical first, ceiling board second) is what prevents future callbacks for exposed wires or misplaced light points.
4. Modular Kitchens Are an Engineering Problem Before They’re a Design One
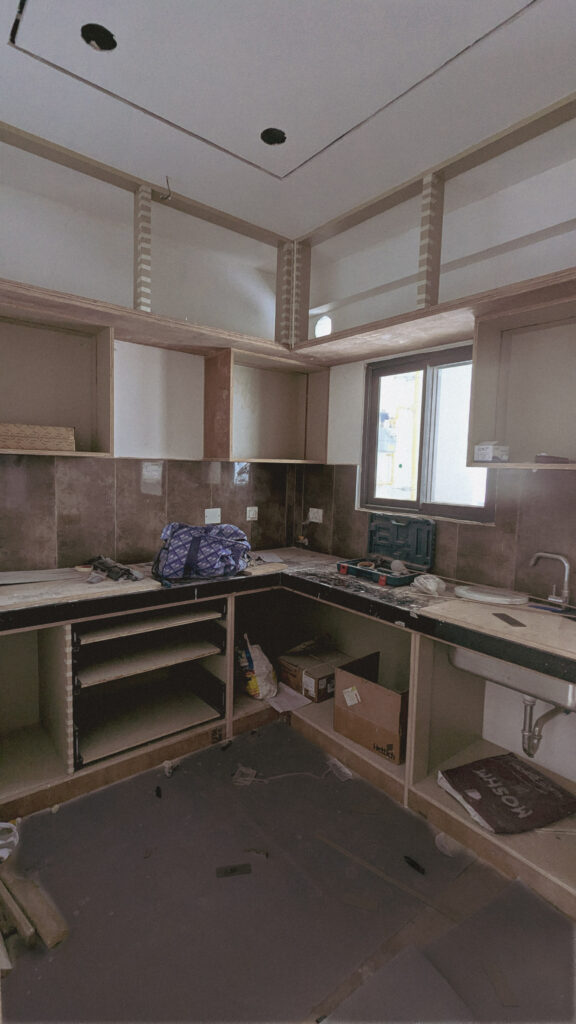
A kitchen carcass has to account for more moving parts than almost any other piece of furniture in the house — plumbing under the sink, gas lines near the hob, drawer runners, and cabinet corners that all have to line up with tile work that’s often already in place. At the carcass stage, you’ll see open cabinet frames, exposed shelf supports, and plumbing left accessible until the final countertop and fittings go in. It’s the stage where an interior team’s coordination with plumbers and electricians really gets tested.
5. Even Smaller Units Follow the Same Discipline
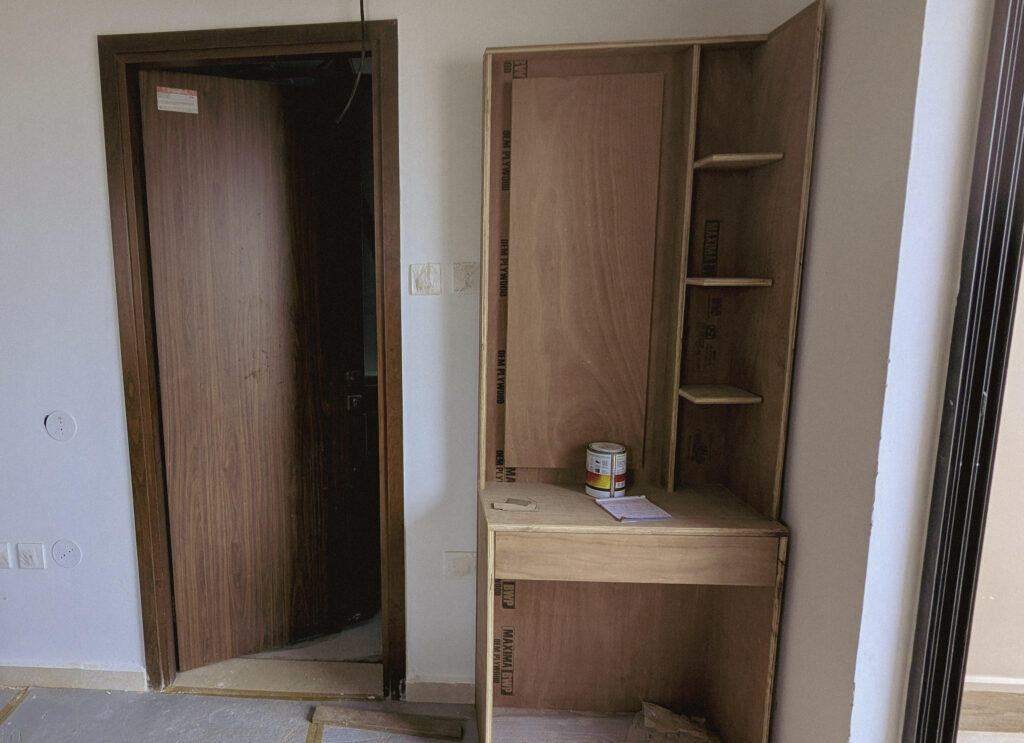
Not every piece is large-scale. A compact study or dressing unit next to a doorway goes through the same process at a smaller scale — plywood carcass, open shelving, a work surface, and a drawer base — all built and checked for fit before any finish is applied.
Questions Customers Often Ask at This Stage
Q: Why does my furniture still look unfinished after weeks of work?
The carcass stage is where the structural work happens — measurements, joinery, wiring, and plumbing coordination. Laminate, paint, and hardware are applied afterward, once the structure is confirmed to be correct. It looks the least “done” at exactly the point where the most important decisions are being locked in.
Q: Can changes still be made at the carcass stage?
Yes, and this is actually the easiest point to make them. Shelf heights, drawer placement, and cabinet dimensions are far simpler to adjust now than after the final finish is applied.
Q: Why is the wiring and plumbing left exposed during this phase?
Electrical and plumbing work needs to be tested and verified before it’s sealed inside a wall, ceiling, or cabinet. Closing it up too early risks costly rework if something needs to be accessed later.
Q: How long does the carcass stage typically take?
It varies by project scope, but for a full home this stage usually takes a couple of weeks, since it involves coordinating carpentry, electrical, and plumbing work in sequence rather than all at once.
Q: What happens after the carcass stage is complete?
Once the structure is confirmed, finishing work begins — laminate or paint application, hardware fitting, door and drawer installation, and final styling.
Why We Show This Part
It would be easier to only post the finished, styled photos. But we think clients make better decisions when they understand what’s underneath the final look — the plywood grade, the joinery, the wiring sequence, the coordination between trades. That’s the work that determines whether a piece of furniture lasts five years or fifteen.
The next post in this series will pick up where this one leaves off — the same units, finished, styled, and ready to live in.


Leave a Reply